
Download
-
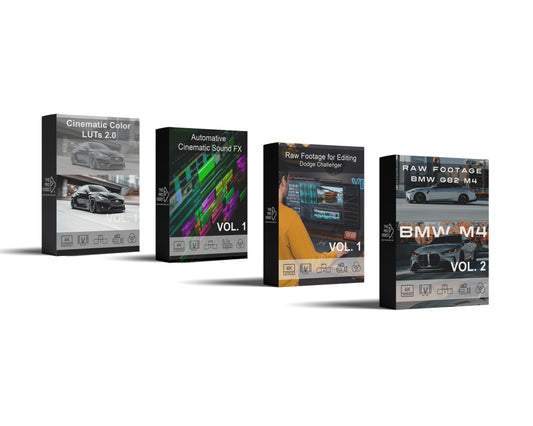
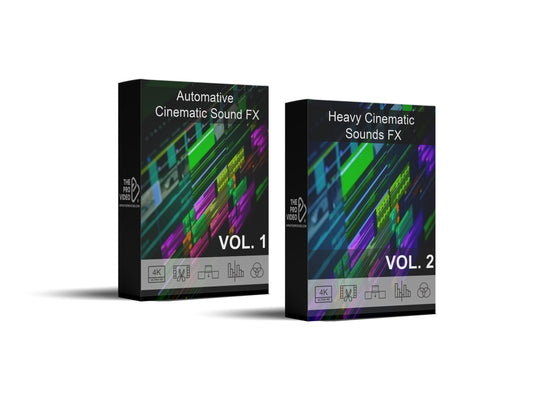
Automotive Cinematic Sound FX VOL 3
Regular price $9.99 USDRegular priceUnit price per$24.99 USDSale price $9.99 USDSale -
Automotive Cinematic Sound FX |Cambo
Regular price $14.99 USDRegular priceUnit price per$49.99 USDSale price $14.99 USDSale -
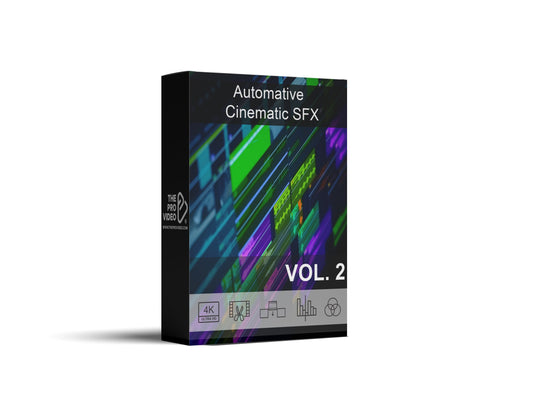
Automotive Cinematic Sound FX VOL 2
Regular price $9.99 USDRegular priceUnit price per$24.99 USDSale price $9.99 USDSale -
 75% OFF
Combo: Sound FX, LUTs & BMW M4
Regular price $19.99 USDRegular priceUnit price per$79.99 USDSale price $19.99 USDSale


Video
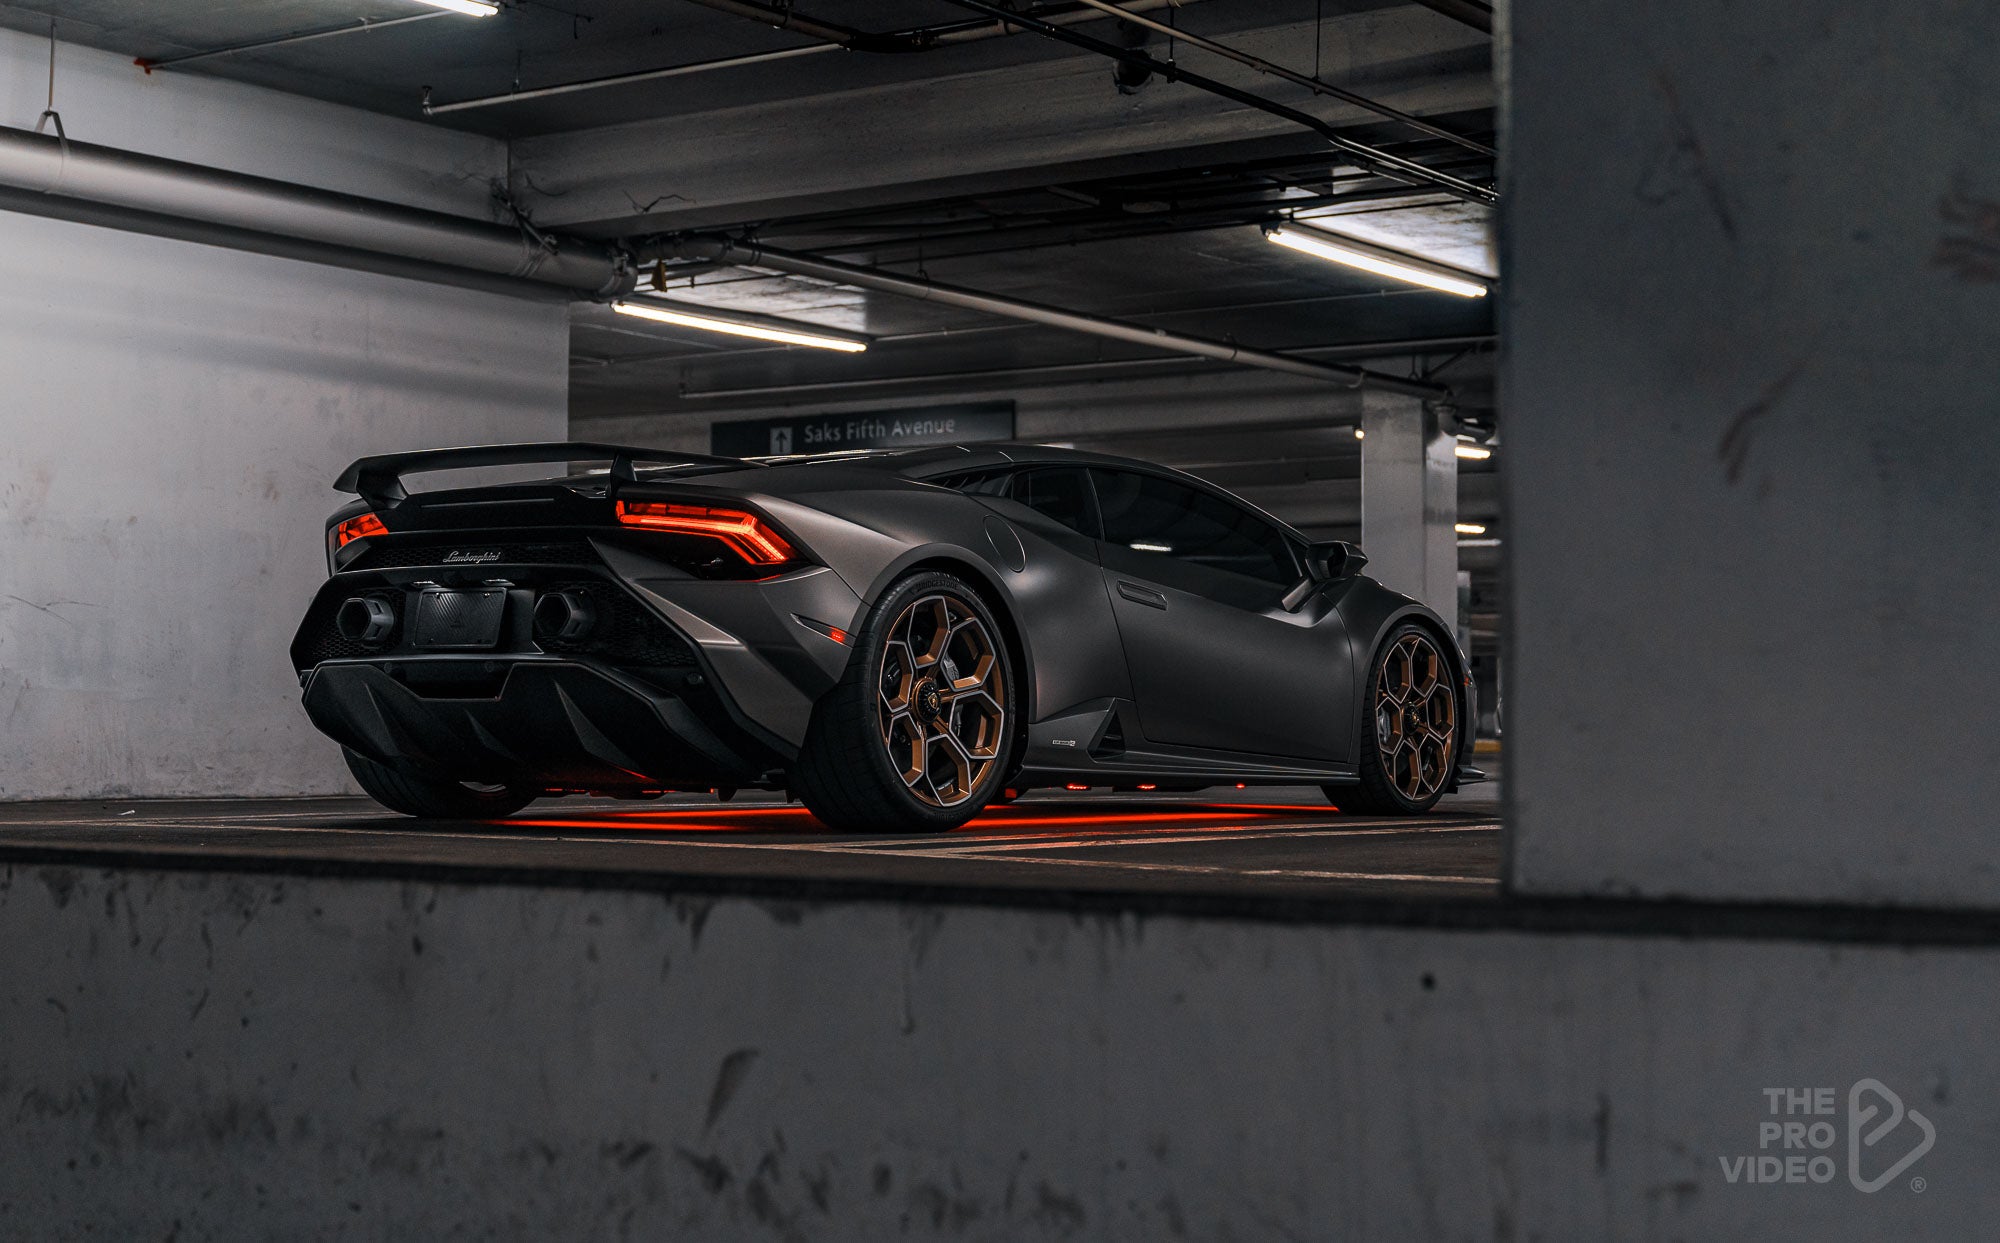
BMW M8 video client Ferrada wheels, Promotion for FR11 BC wheels, location Los Angeles, Video director Royal, Production by The Pro Video
Promotion for FR11 BC wheels, shot in Los Angeles, directed by Royal, Production by The Pro Video
BMW M8 video client Ferrada wheels, Promotion for FR11 BC wheels, location Los Angeles, Video director Royal, Production by The Pro Video
Promotion for FR11 BC wheels, shot in Los Angeles, directed by Royal, Production by The Pro Video
Check out more reels on Instagram: